Appearance
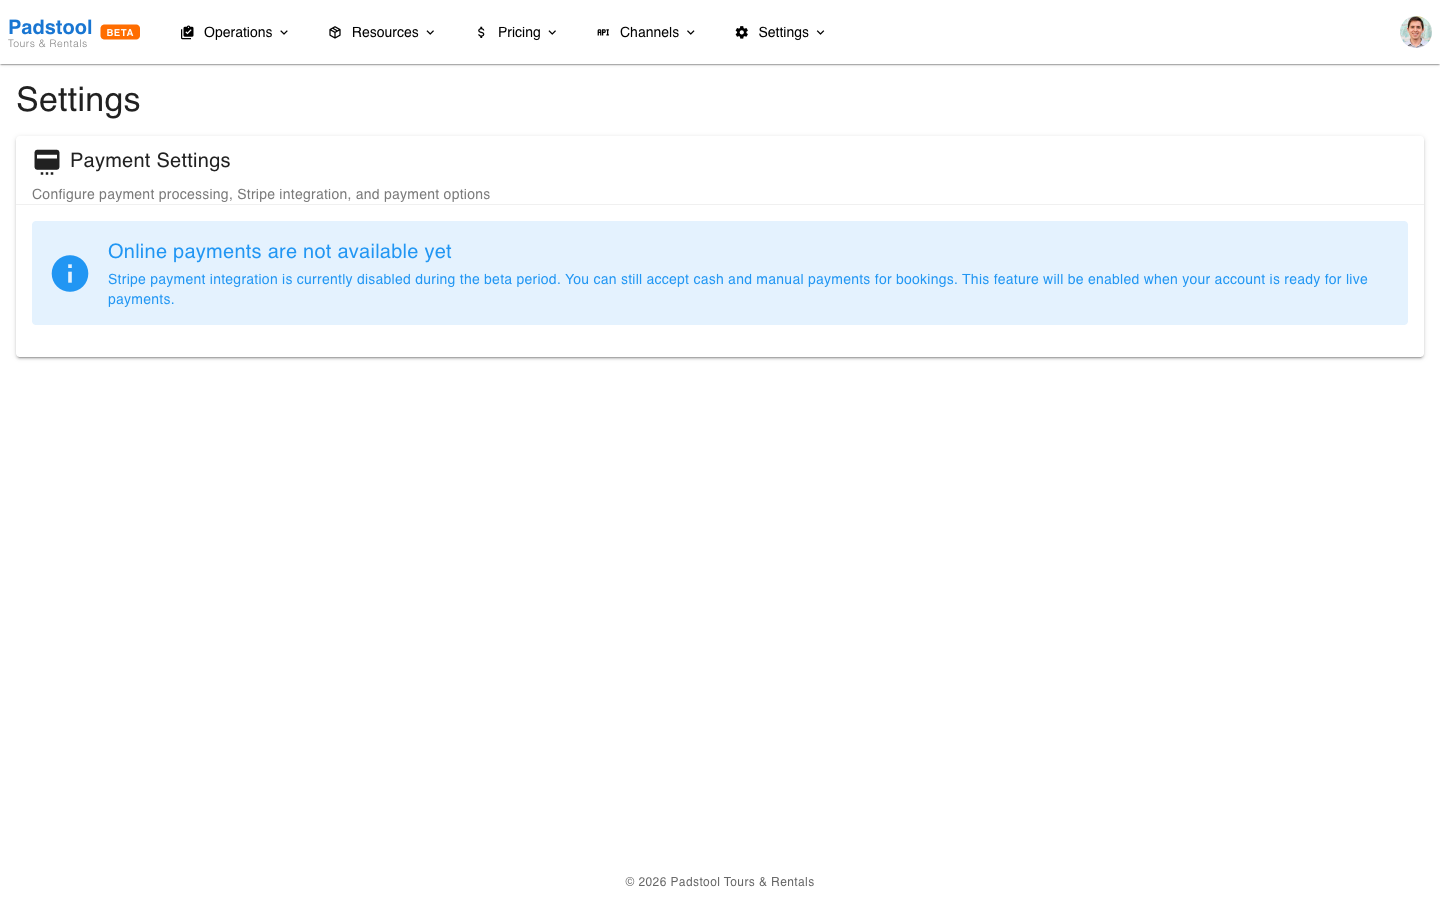
Payment Settings
Payment settings configure how you accept and process payments through Stripe Connect - the payment platform that handles credit card transactions for your bookings.
How Stripe Connect works
Stripe Connect lets you accept payments directly into your own Stripe account. The platform never holds your funds - payments go from the customer's card to your bank account through Stripe.
Setting up Stripe Connect
If you have not yet connected a Stripe account:
- Navigate to Settings > Payment.
- Click Connect with Stripe.
- You will be redirected to Stripe's onboarding flow. Complete the steps:
- Enter your business details (name, address, tax ID).
- Provide your bank account information for payouts.
- Verify your identity as required by Stripe.
- After completing onboarding, you are redirected back to the app.
- The payment settings page now shows your Stripe account as connected.
WARNING
Complete the Stripe onboarding fully. If you leave the process partway through, payments cannot be processed until you finish. You can return to complete it at any time by clicking Connect with Stripe again.
After connecting
Once Stripe is connected, payments are processed automatically:
- Online bookings - Customers pay by credit or debit card during checkout.
- Manual bookings - You can process payment when creating a booking on behalf of a customer.
- Payouts - Stripe deposits funds into your bank account on a rolling basis (typically 2 business days).
You can view transactions in two places:
- Transactions page in the app - See all payments and their status.
- Stripe Dashboard (dashboard.stripe.com) - Full transaction details, payout schedules, and dispute management.
Payment configuration
| Setting | What it controls | Example |
|---|---|---|
| Payment methods | Accepted card types | Credit card, debit card |
| Require payment at booking | Whether full payment is needed upfront | Yes |
| Accept partial payments | Whether deposits are accepted | No |
| Deposit percentage | If deposits are enabled, the % required upfront | 0% |
| Tax rate | Tax percentage applied to bookings | 21% |
| Tax included in price | Whether displayed prices include tax | Yes |
| Tax name | Label for the tax line item | IVA |
| Invoice prefix | Prefix for invoice numbers | VBT |
Refund processing
When you cancel a booking and issue a refund:
- The refund is submitted to Stripe automatically.
- Stripe processes the refund back to the customer's original payment method.
- Refunds typically appear in the customer's account within 5-10 business days.
- The refund status is tracked in both the booking details and the Transactions page.
You can issue full refunds or partial refunds depending on your cancellation policy.
Test mode
Before going live, use Stripe's test mode to verify your setup:
- Connect with a Stripe test account (or switch your existing account to test mode in the Stripe Dashboard).
- Create a test booking and complete the payment using Stripe's test card numbers.
- Verify that the payment appears in your Stripe Dashboard.
- Test a refund to confirm the full flow works.
- Switch to live mode when you are ready to accept real payments.
INFO
Test payments do not charge real cards or move real money. Use Stripe's test card number 4242 4242 4242 4242 with any future expiry date and any 3-digit CVC.
Payment reconciliation
The Reconciliation page (under Financials > Reconciliation) lets you sync payment statuses with Stripe to catch missed webhooks or manual changes in the Stripe Dashboard.
Click Run Reconciliation to start a sync. The results show:
- Transactions Checked - How many payments were compared against Stripe.
- Discrepancies Found - Payments where the local status did not match Stripe.
- Discrepancies Fixed - Mismatches that were automatically corrected.
- Errors - Any issues encountered during the sync.
If payment statuses in the app seem out of sync with what you see in the Stripe Dashboard, running a reconciliation is the quickest way to fix them.
TIP
Run a reconciliation periodically, or any time you notice a payment showing an incorrect status. It is safe to run as often as needed.
Tips
- Complete Stripe onboarding as early as possible - the verification process can take a few days for some businesses.
- Use test mode first with a real test booking to verify the complete payment flow before going live.
- Monitor the Transactions page regularly for failed payments or disputes.
- Set the tax rate and "tax included" toggle correctly from the start. Changing these later can cause confusion with existing pricing.
- Keep your Stripe Dashboard bookmarked for detailed transaction analysis and payout tracking.